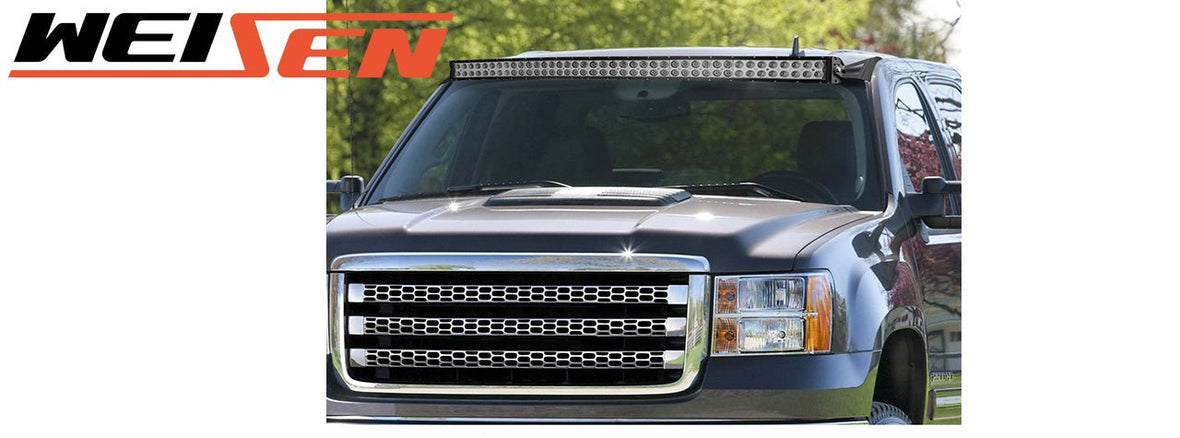
Weisen Roof Mount Bracket: Go The Extra Mile For Your Equipment
weisenweisen
Weisen Roof Mount Bracket: Go The Extra Mile For Your Equipment
The LED Light Roof Mount is a highly versatile product For Honda, Toyota, Ford and Jeep, ect. So you can install this set-up on practically any Truck, SUV or RV.
The holder is compatible with high-powered LED light bars. It’s able to hold the strips well on the roof.
With the addition of Weisen bracket, LED light bar can better provide enough illumination for general trail riding and are a great addition if you're mostly using your UTV during the daytime hours.
How To Install the Roof Mount bracket?
Next is a Quick Guide to show you how to assemble the Weisen Roof bracket.
Step 1: Take a look at all the tools and components that come with the Roof mount.
Step 2: Select a suitable position to mount the bracket. If you are unsure of the exact location to drill, you can try to mark the position of the light bracket. #Pic 1.
NOTE: (the wipers will hit the bar if you go too low)

***Little Tip***: May want to Tape the pillars on both sides to prevent any scratching during test fitting before you start marking! Simply peel off the tape when you have finished drilling.
Step 3: Next up is a big job! Pick up your drill bit and Use a drill bit to drill the holes in the position which you have marked on the A pillar. Note to the force when drilling, Drilling to far will damage the outside painted surface of the A-pillar. #Pic 2. (Please pay attention to safety during this process, or your fingers may be injured.)

Step 4: You can use the small spanner included to screw the screws into your pre-drilled holes and fix the light holder, this process that may require a great deal of patience - after all, it is not easy to place so many screws exactly in the holes. Repeat steps on the passenger side. #Pic 3

Step 5: Having done all the previous work also means that the work has almost come to an end. After placing the light bar, aligning the light bar with the matching hole in the bracket, Final tightening of screws, the installation of the Roof mount is finished. #Pic 4

Step 6: After the assembly of the bracket, We still need wiring. It is crucial that you insulate each connection separately before taping together.
This is a general wiring guide to show you how to connect the positive and negative wire. Be sure to wire them up in parallel.👇👇👇

Test to make sure everything works, Don't forget to give yourself a round of applause. Have fun with the product!


